


Ever bricked an ASM before? Maybe it was a bad ASM upgrade, maybe you replaced the hard drive in there, or maybe you were stupid enough to Install Doom on it.
The issue with any of these is, it breaks the ASM’s SBC Communication Module and the built-in Recovery partition which when looking at the recovery options, is required to Reflash the ASM Recovery Partition
Regardless, you need some way of getting the factory image back on to the ASM, but Ribbon doesn’t exactly have ISO images laying around in the download portal you can install.
Ribbon does apparently offer its own method for doing this from a USB key, but I couldn’t find the documentation, even in the partner portal. So as usual, I figured it out myself.
The anatomy of an ASM image
Taking a look at the Ribbon Downloads portal we can see we have a whole bunch of ASM images.

Looking inside any of these zip files reveals a folder with a tarball in it. Inside the tarball, you will see it contains a CloneZilla logfile and some Clonezilla image files.

So the obvious solution was to use CloneZilla to restore the file right? Well, we need a little more info first.
Inside the image, we can see that there is an ablkdev.list file.

This file lists the partitions when the ASM was initially imaged by someone at Ribbon to create the updated image.

In it, we find that sda (the first hard drive) is expecting to have 2 partitions on it, sda1 a 100MB VFAT (Fat32) partition and sda2, a 97GB NTFS partition.
(Don’t stress about sdb that’s whoever was imaging the ASM’s USB key.)
We can also see that CloneZilla backed up some hidden data as well in the image, it’s likely needed.

Still looking in the images files, we can also see Info-saved-by-cmd.txt
Opening this shows us the exact command that was run on Clonezilla to make this image in the first place.

Luckily we can reverse engineer this thanks to the excellent clonezilla documentation
Taking a look we can see
- q2: They used PartClone to take the images
- j2: They used DD to clone the hidden data between the MBR and the first partition
- rm-win-swap-hib: This attempts to remove the swap and hibernate files from a windows image
- gm: Generates an MD5 sum of the image (found in the folder)
- z1: Compresses the image using gzip
- i 2000: Breaks up the image file in 2000MB intervals
- sc: Skips the check that it can be restored after taking the image
- p poweroff: Shut the ASM down after taking the image.
Right, we know what we need to flash this image, lets get cracking.
Prepping a USB key
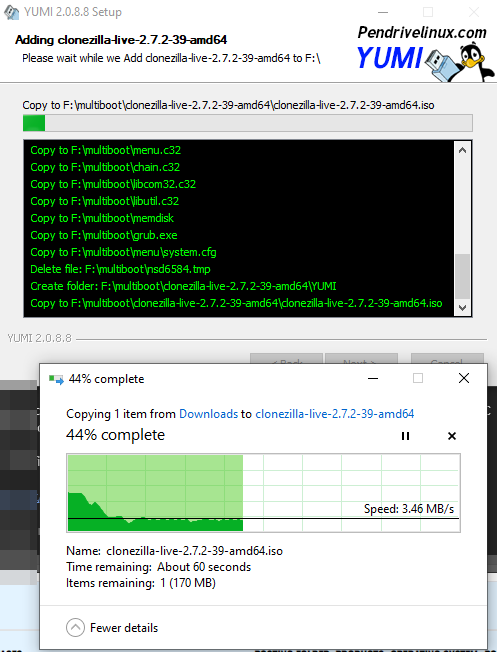
I grabbed a copy of YUMI which is a great utility to build USB keys with multiple tools on it, and used it to build a CloneZilla USB key. Just be sure not to grab the UEFI version as the ASM doesn’t support it.
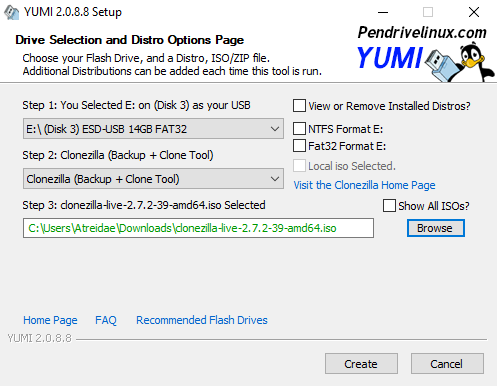
Because we cant restore the MBR and the images are partition-based, not disk-based, we are going to need something to make a partition table too. Let’s add Gparted to the YUMI key as well

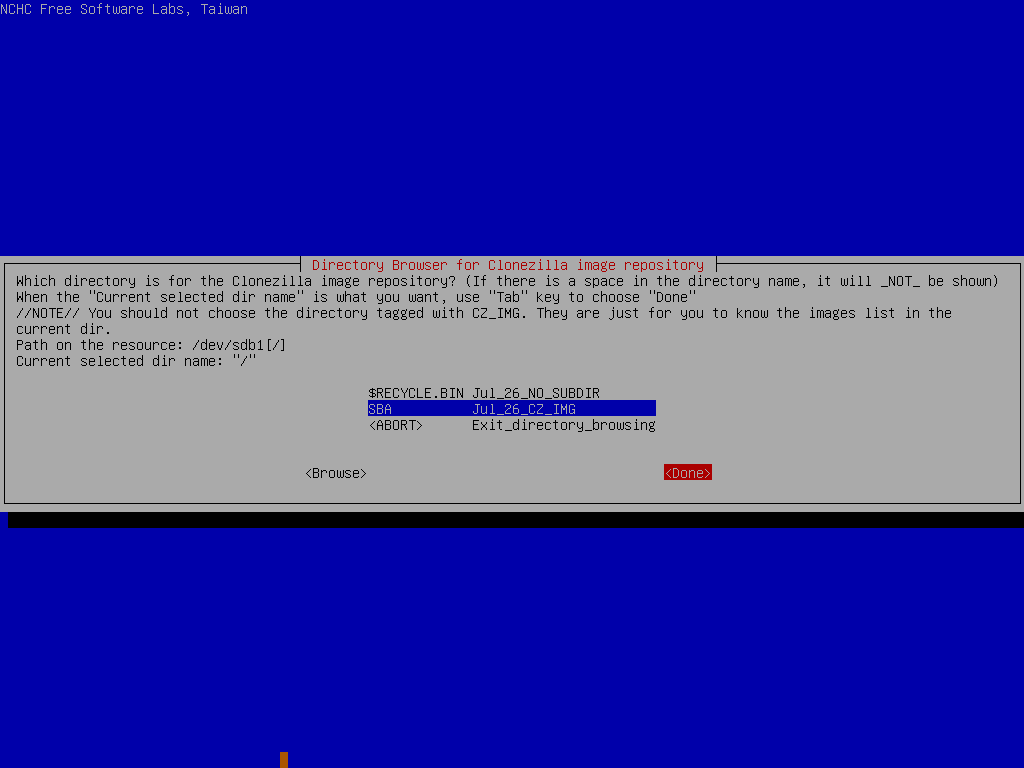
Once that’s done, create a folder on the YUMI USB key called “SBA” and copy the contents of the image file into it.

Getting the ASM ready for the image
Okay, so we know that we need two partitions on the disk, we are two options here.
- You can open the SBA, remove the ASM, take the HDD off the ASM and prep it on another desktop/VM
- You can use a VGA adapter as I made over here
In this guide, I’ll be using the VGA cable, but the steps remain the same if you’re using a Desktop or VM
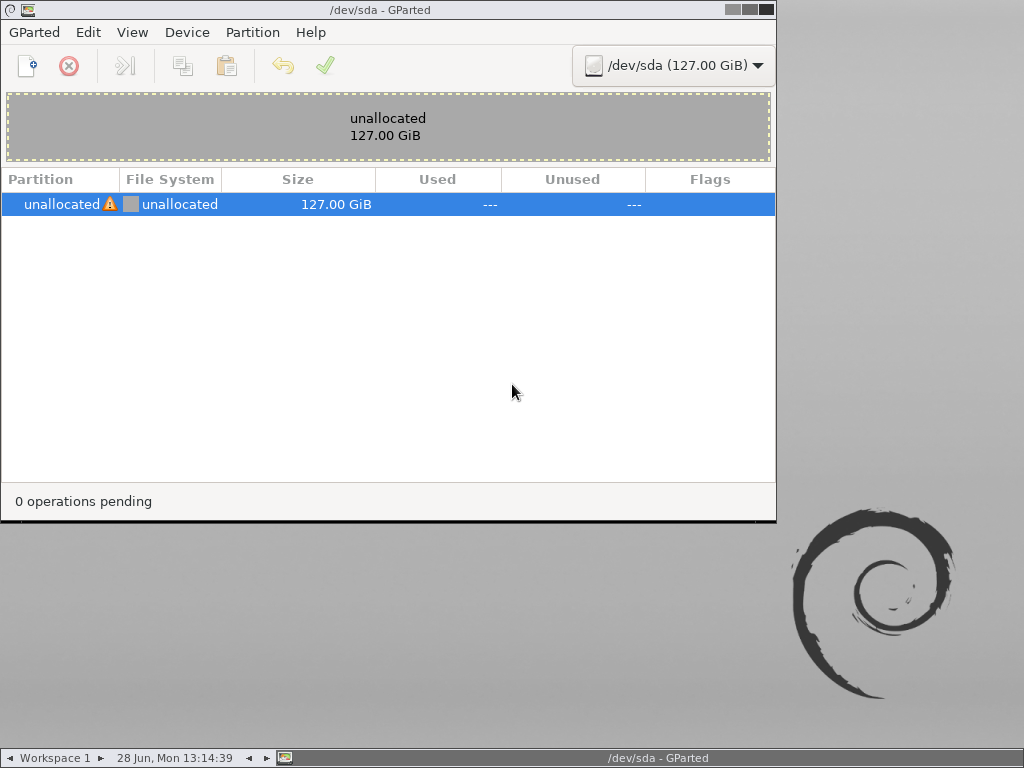
Using the pre-prepared YUMI key, boot into Gparted and get to the desktop.
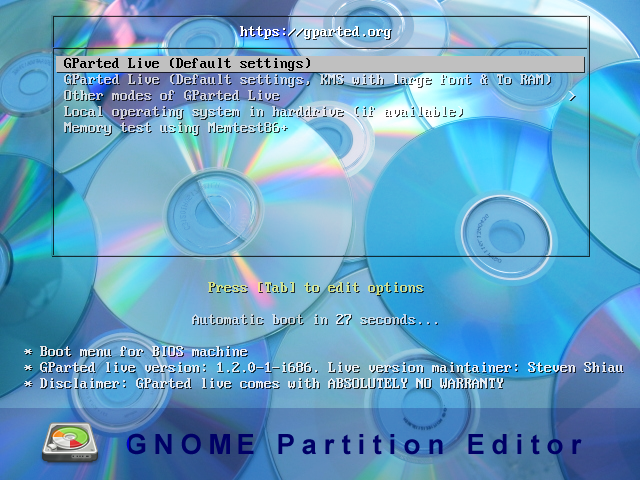
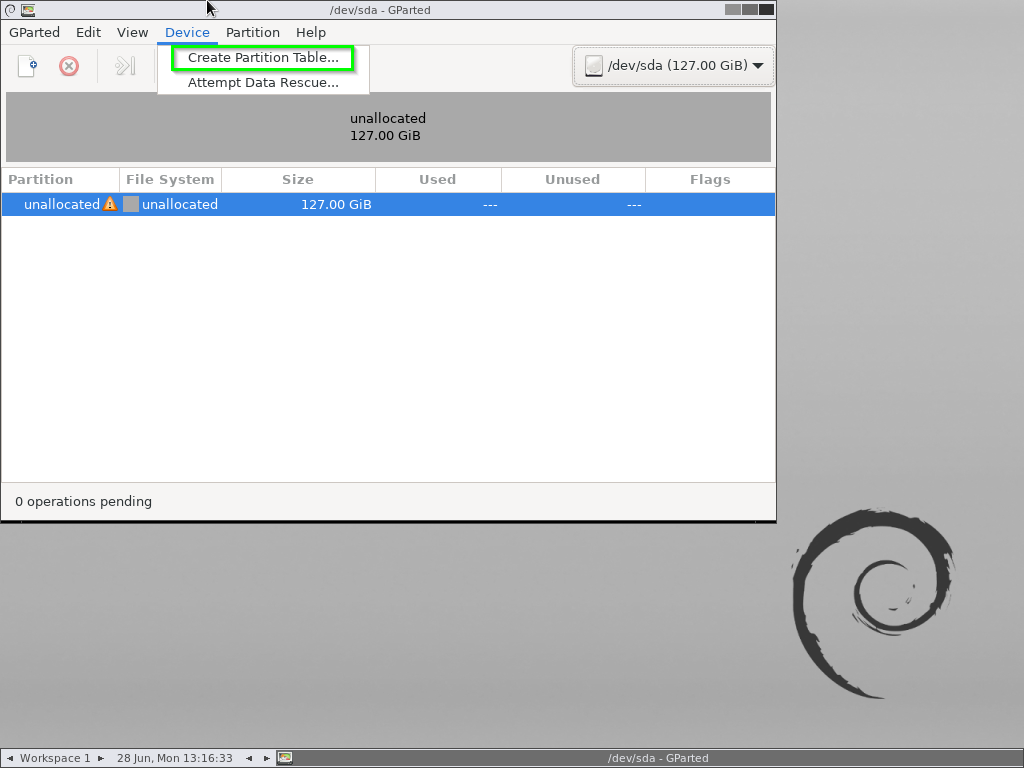
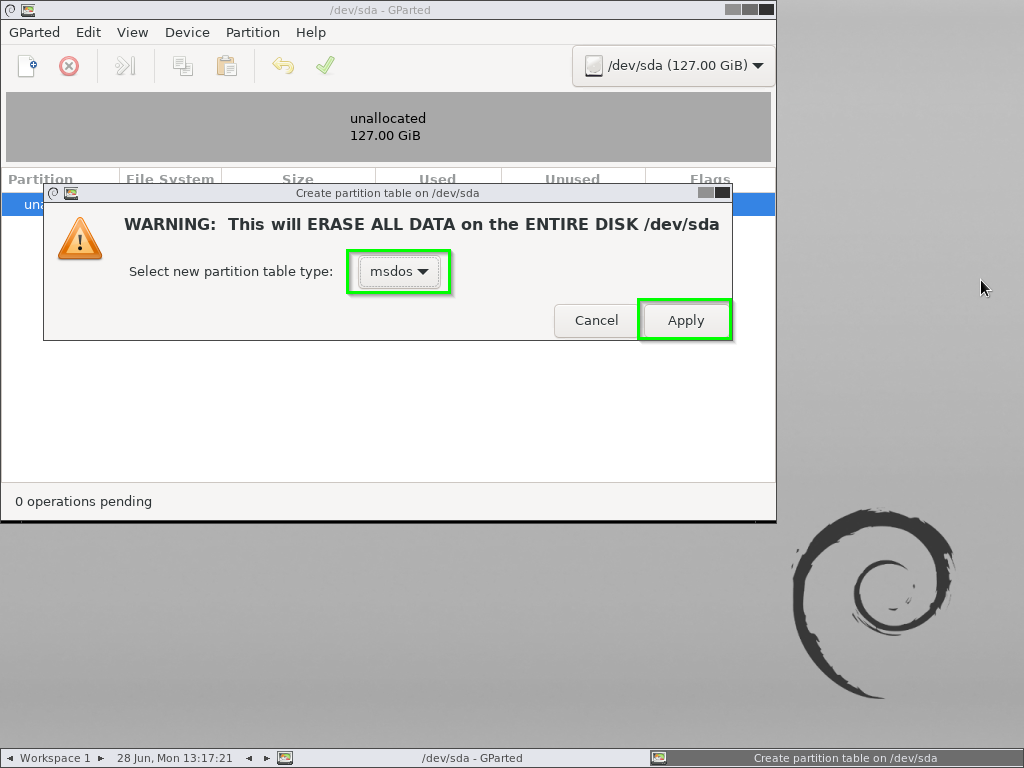
Start off by creating a new “msdos” partition table.
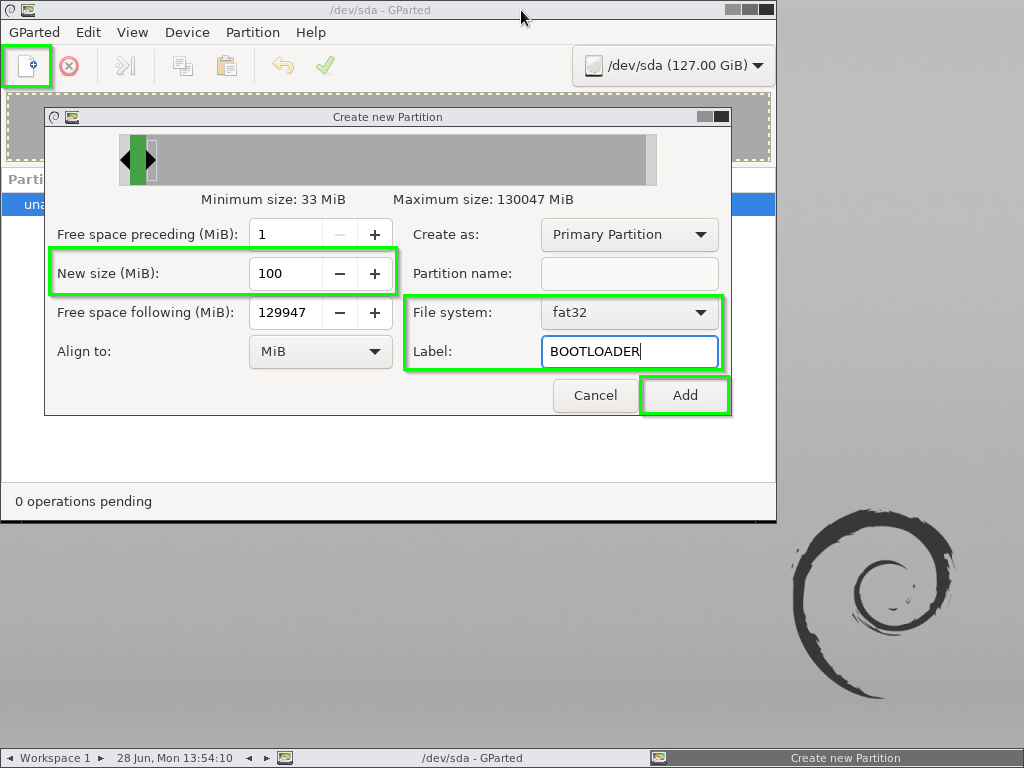
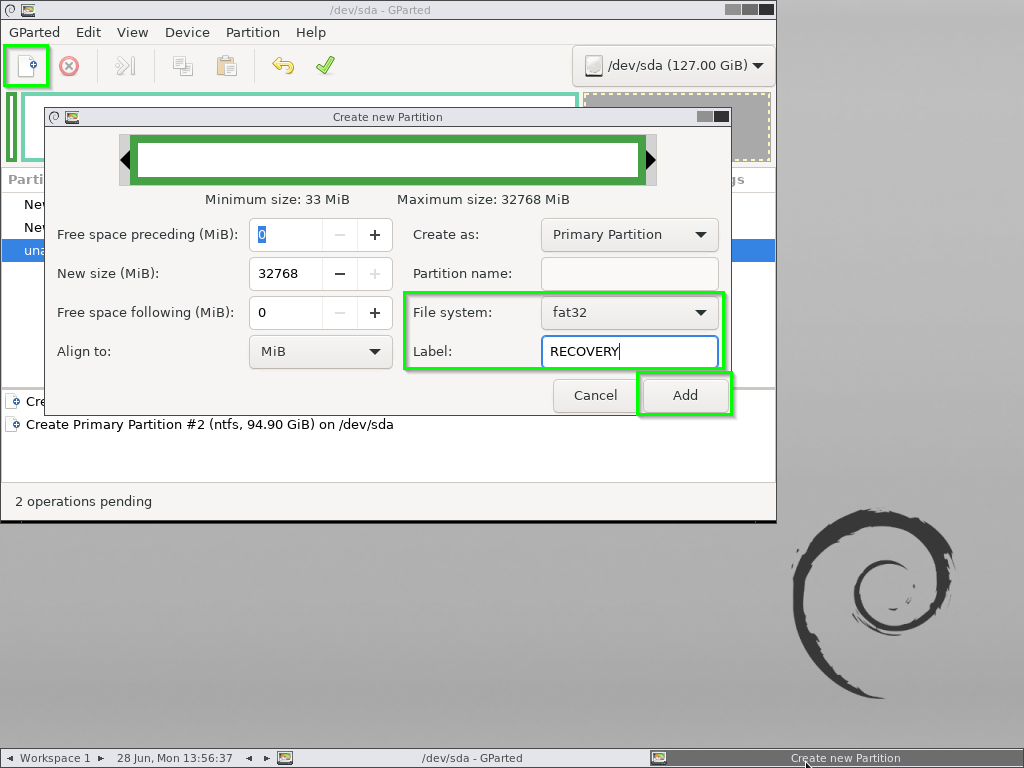
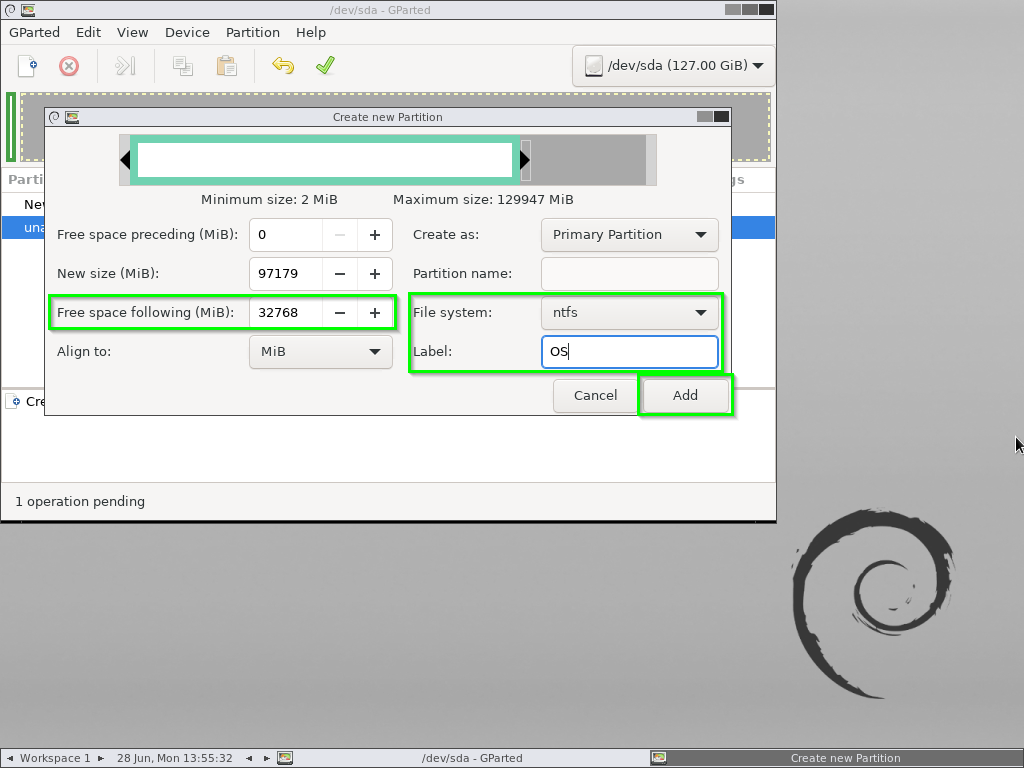
From there create the following partitions
- A new 100MB Fat32 partition named “BOOTLOADER”
- A Bootable NTFS partition with 1MB preceeding and 32,768MB following
- Another 32GB Fat32 partition called “RECOVERY” using the last 32,768MB
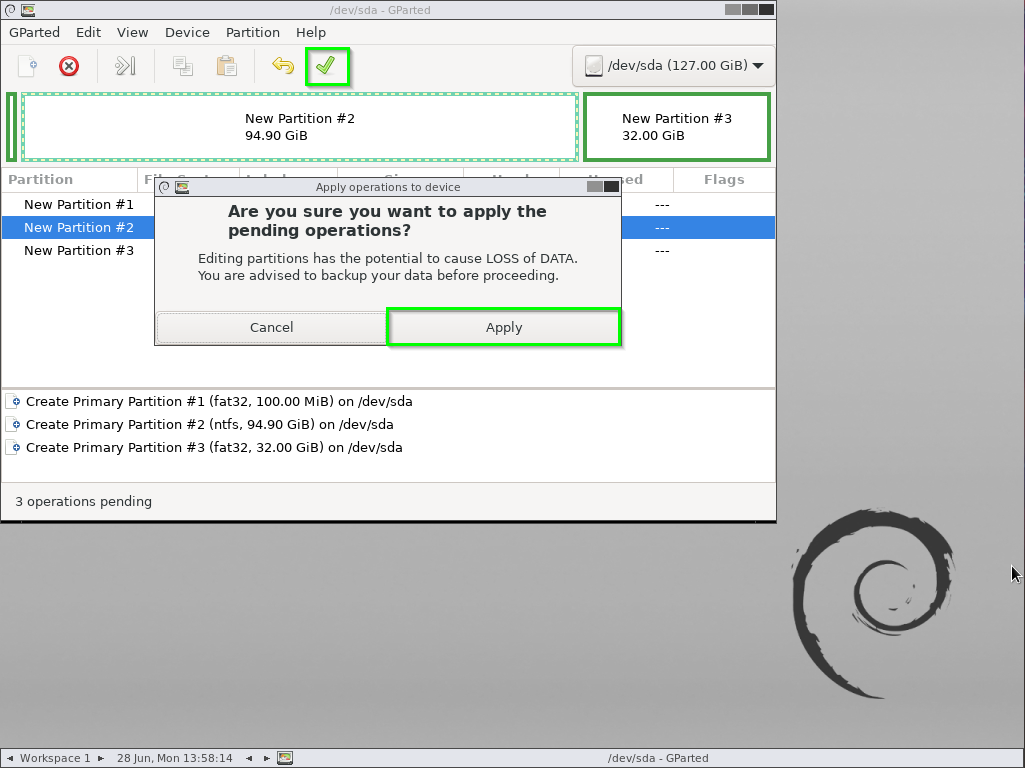
Apply those changes.
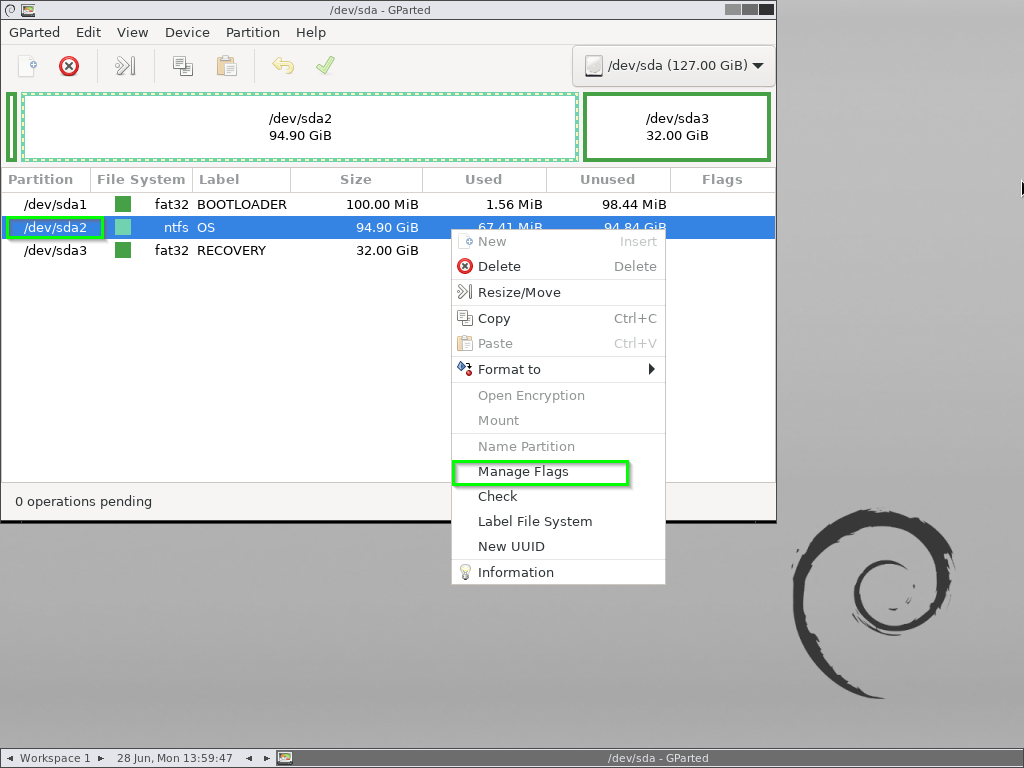
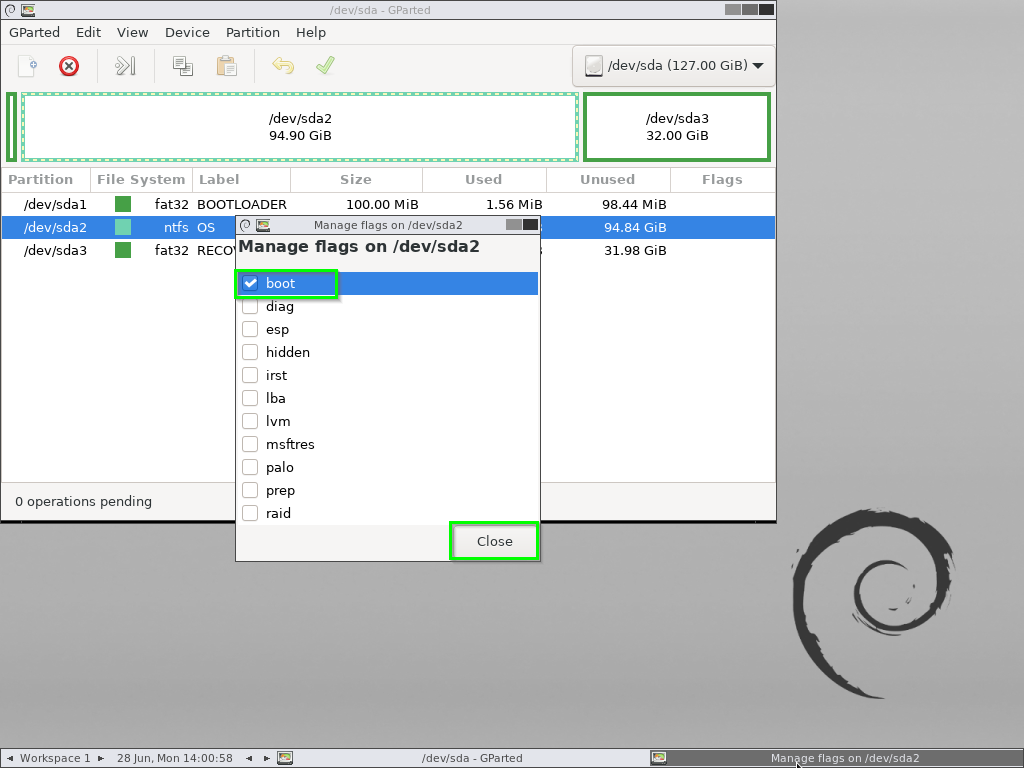
Now, Right-click on /dev/sda2, click Manage Flags and give it the boot flag.
Close Gparted and reboot the machine into CloneZilla
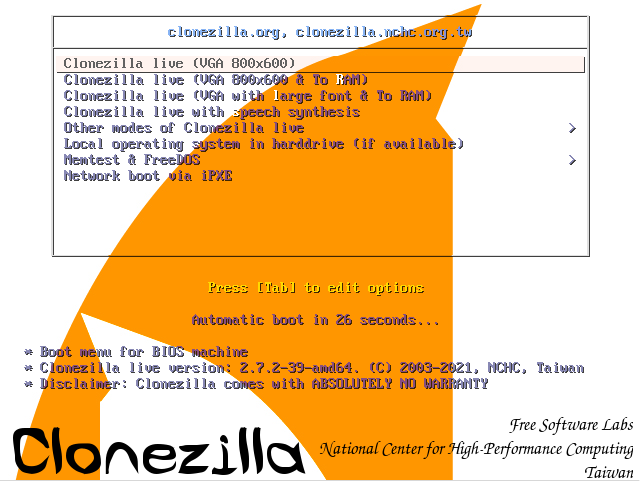
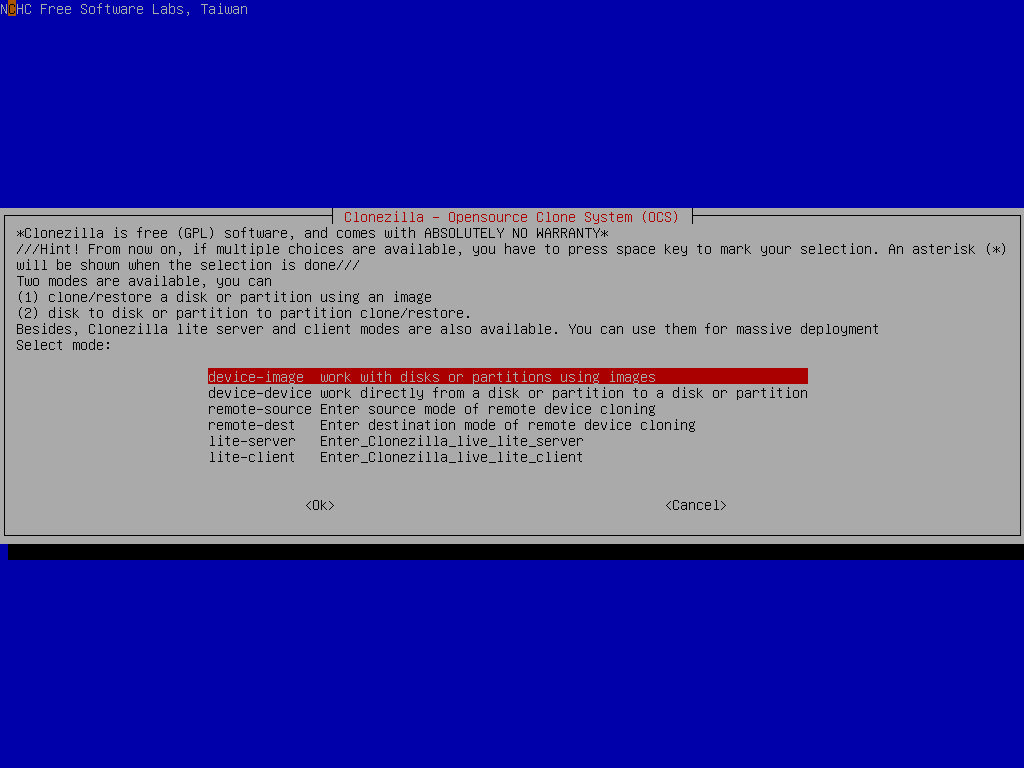
CloneZilla
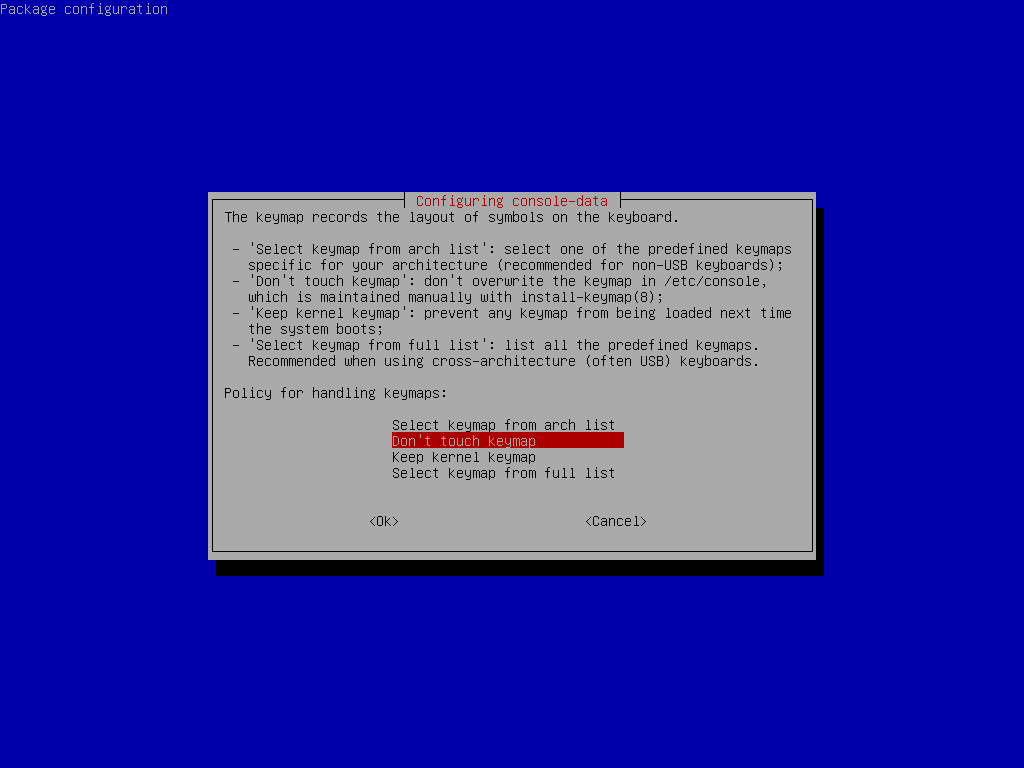
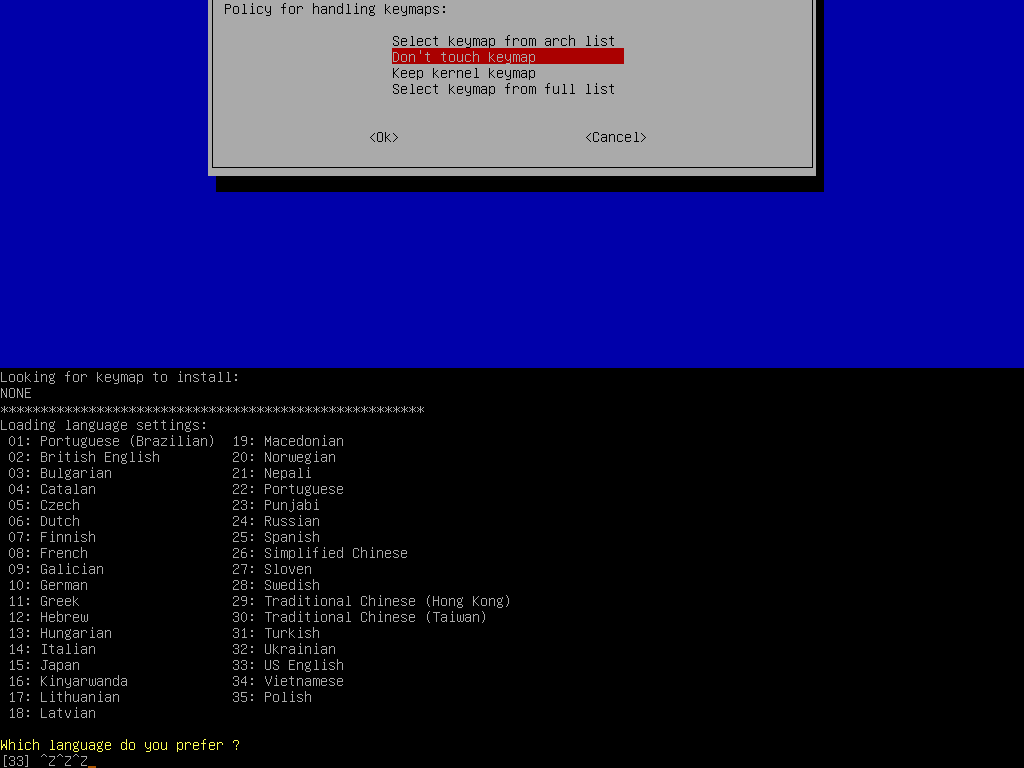
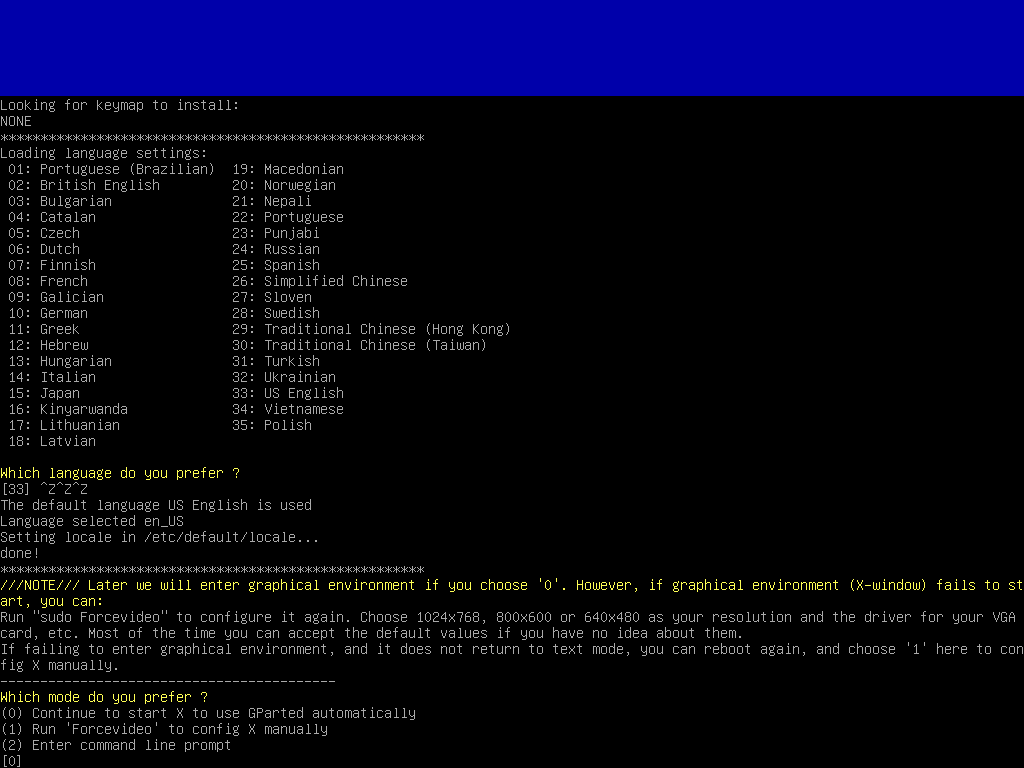
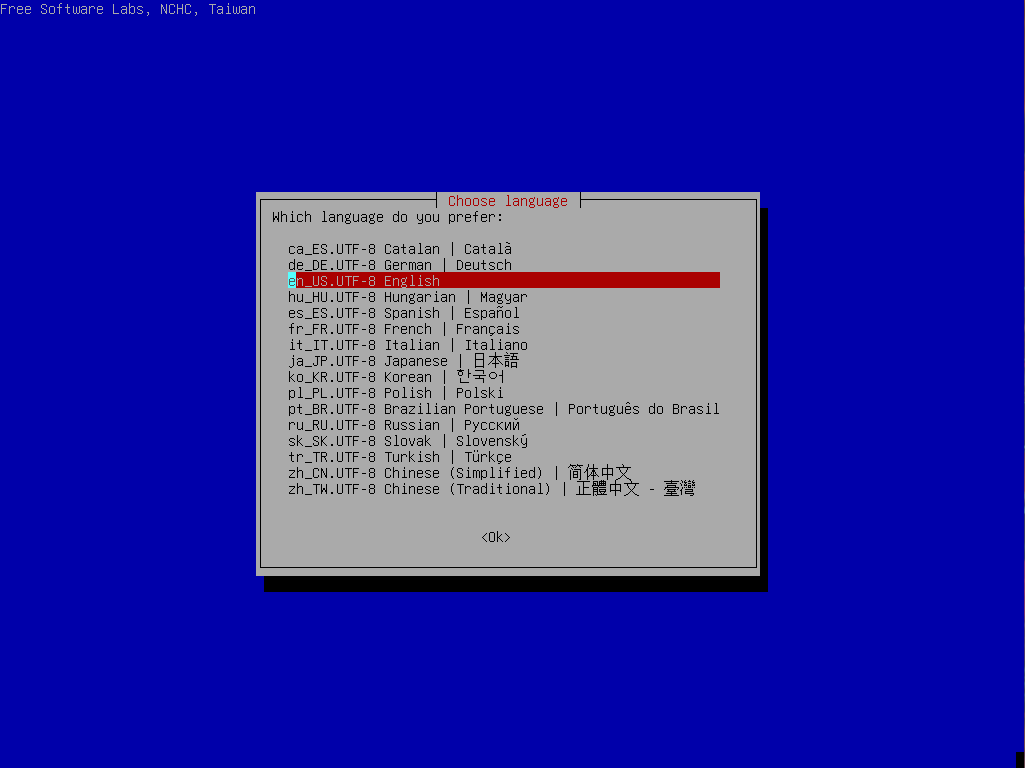
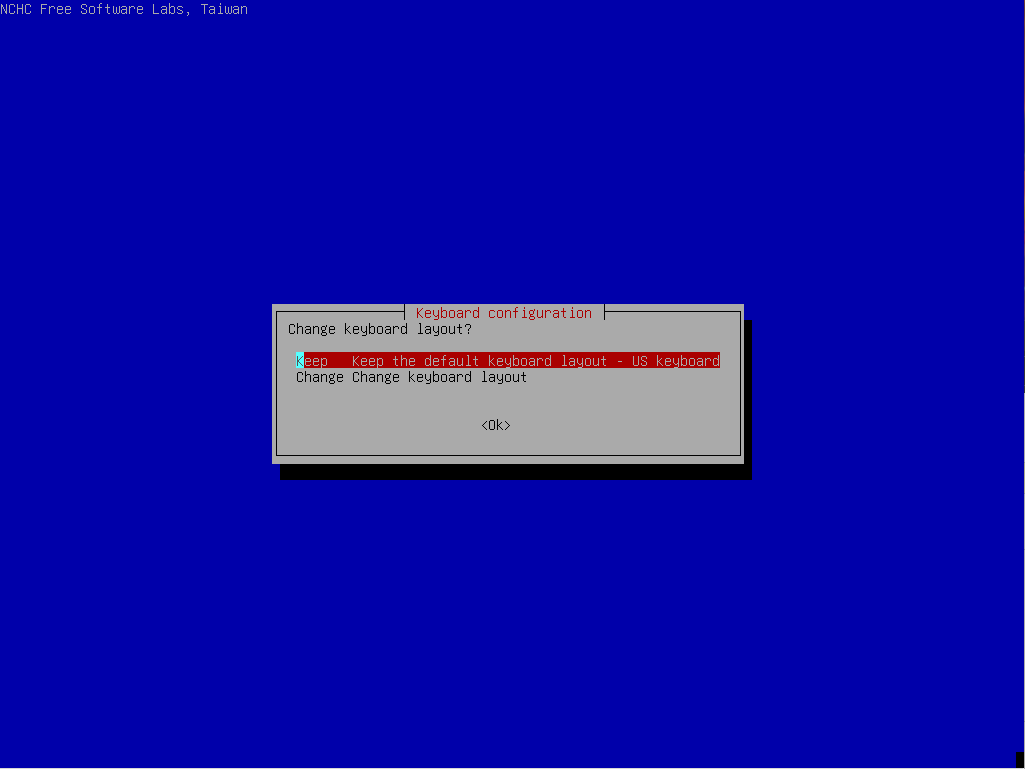
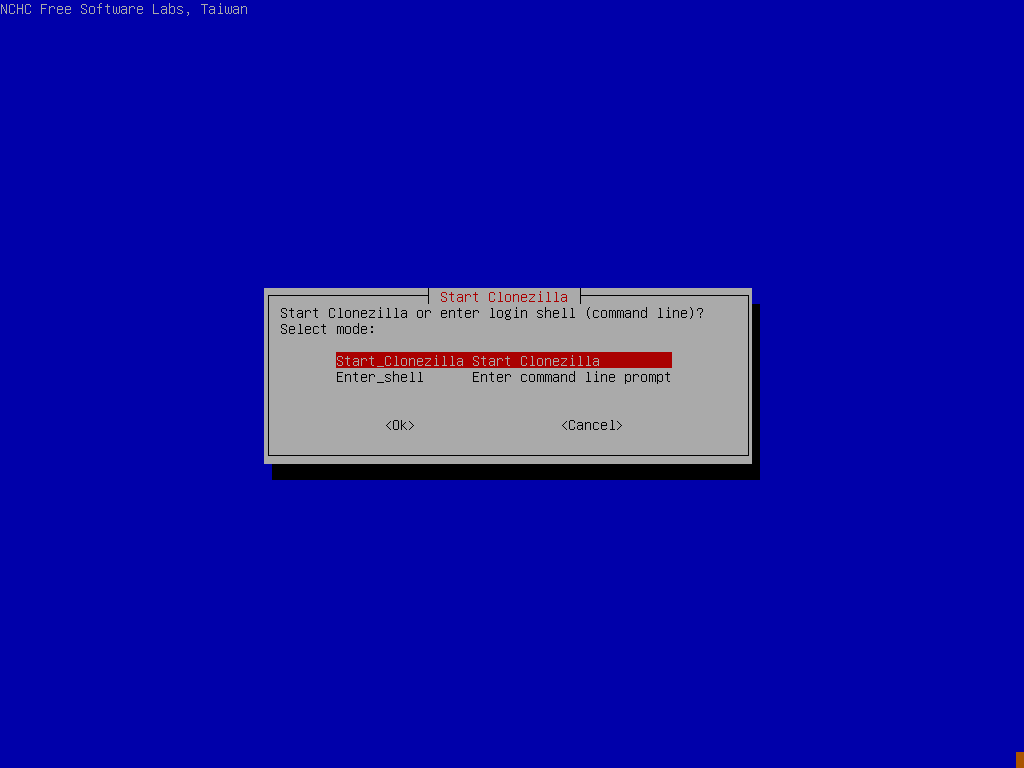
Run through the initial startup of ClineZilla by picking your language, Keymap etc and selecting “Start_CloneZilla
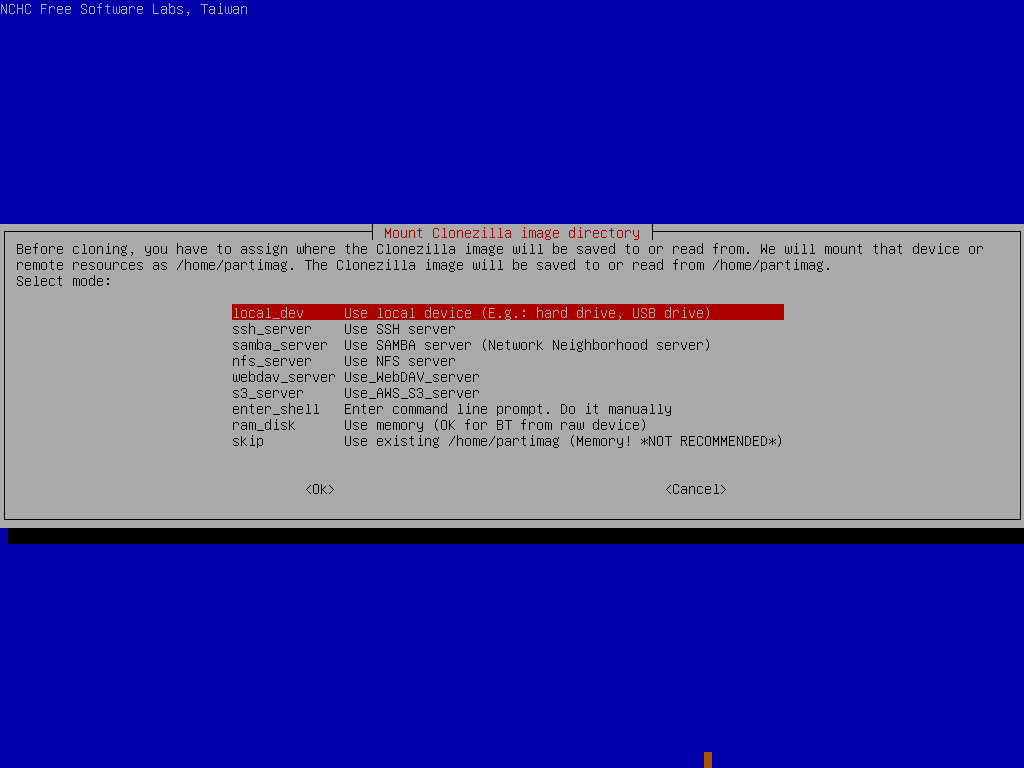
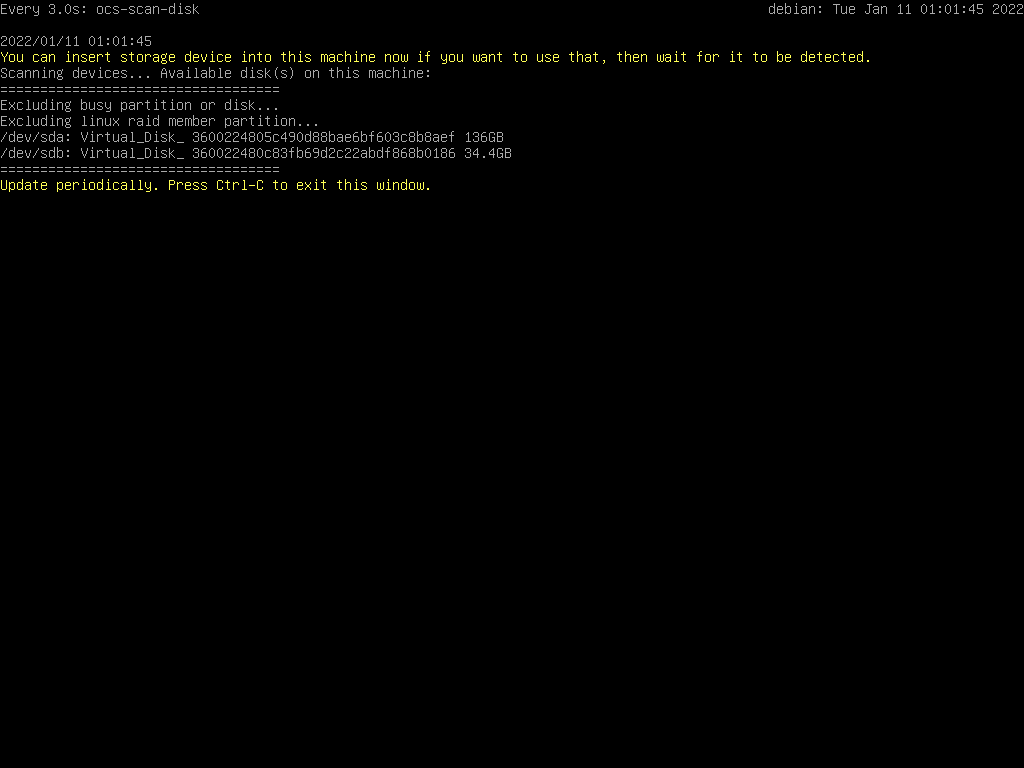
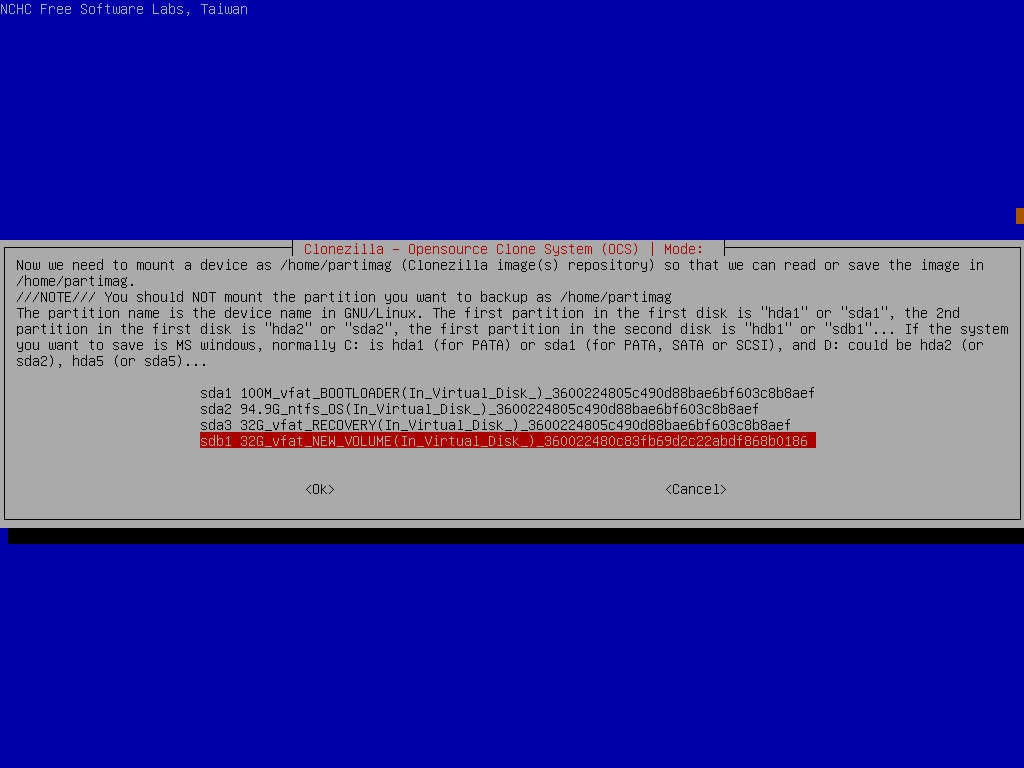
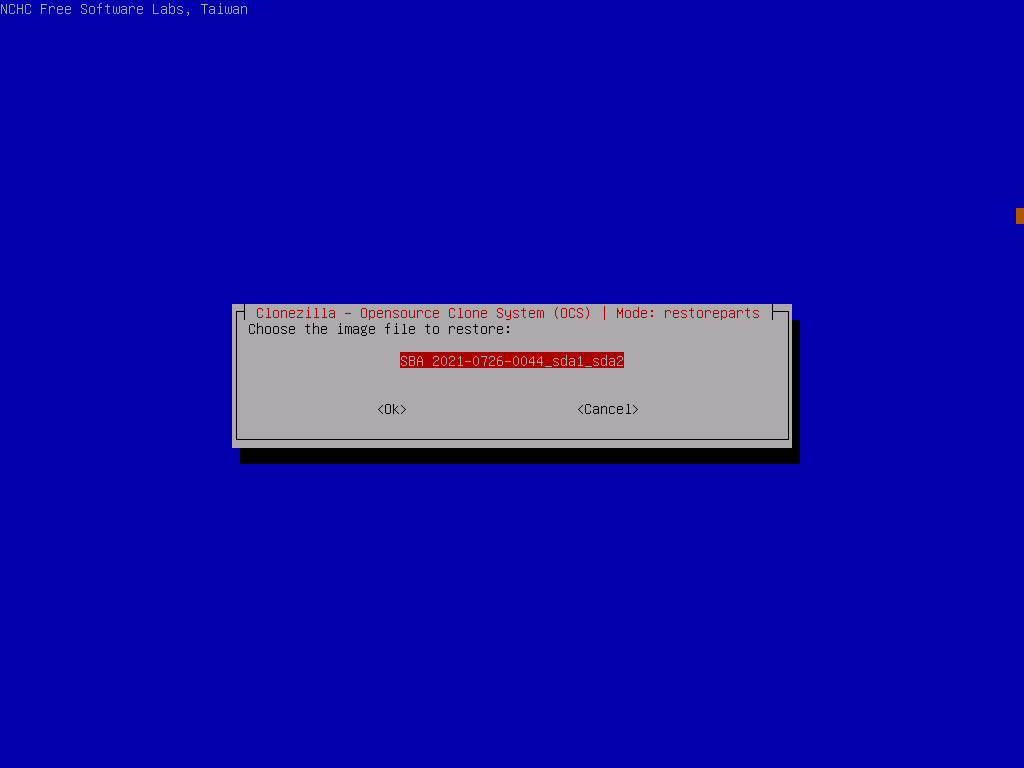
Now, jump into “device-image” mode and locate your USB key with the clonezilla image on it.
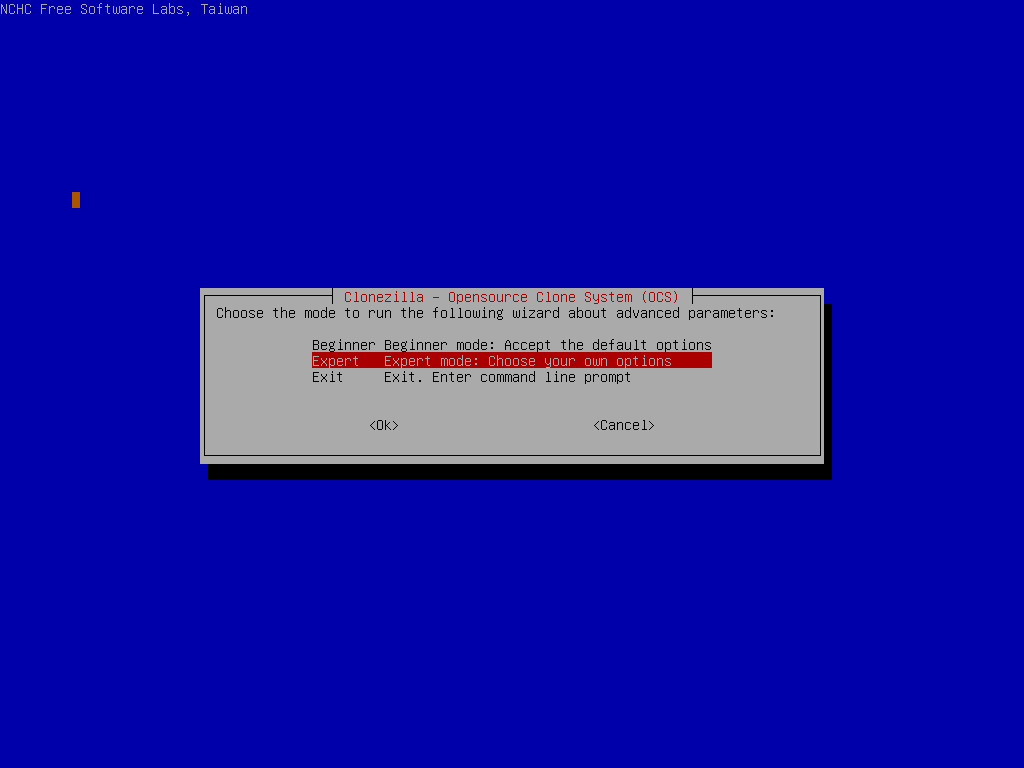
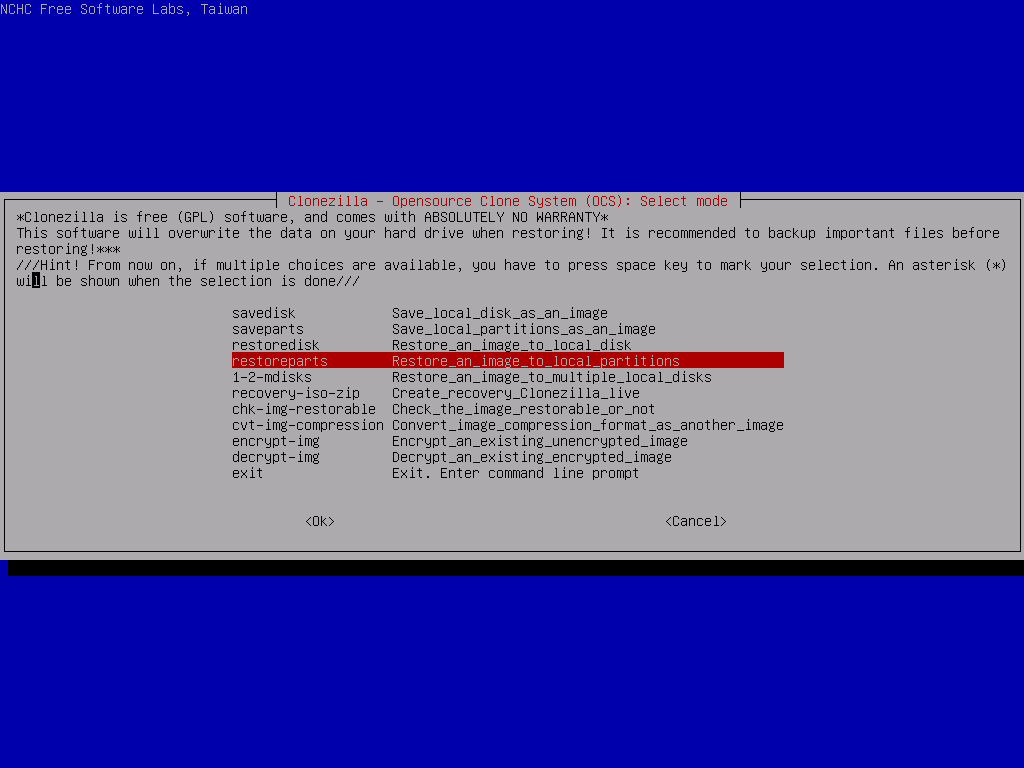
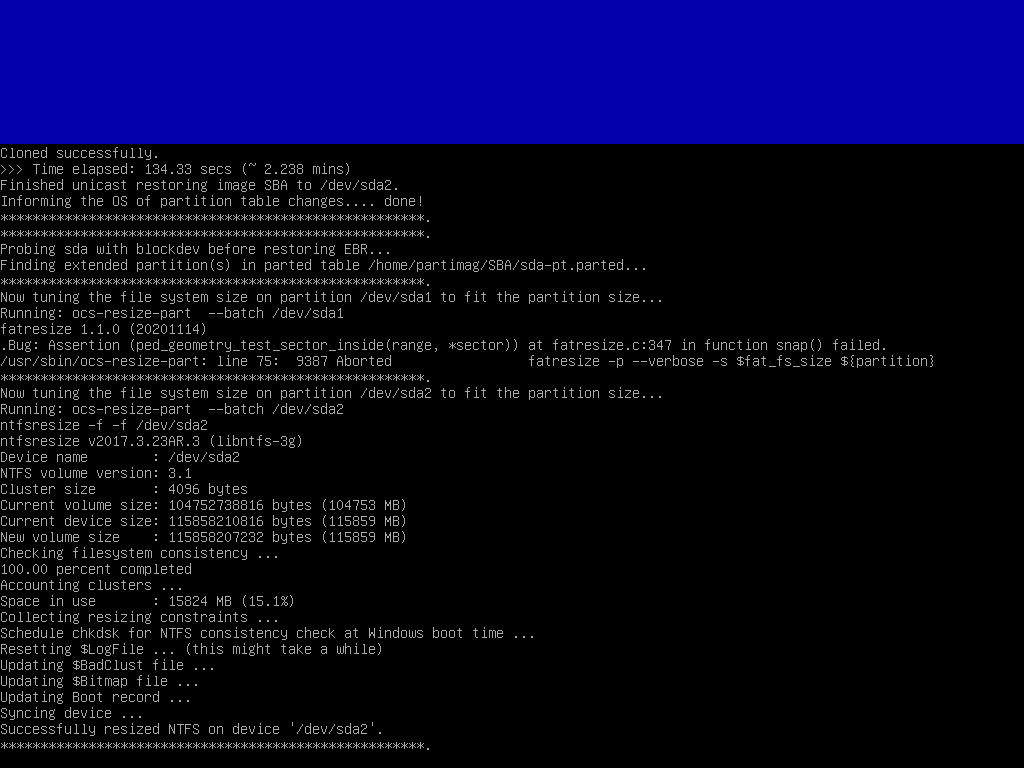
Now we need to specify some custom options that were taken at the time of backup, so pick expert mode, select the following process RestoreParts and the image file we extracted earlier.
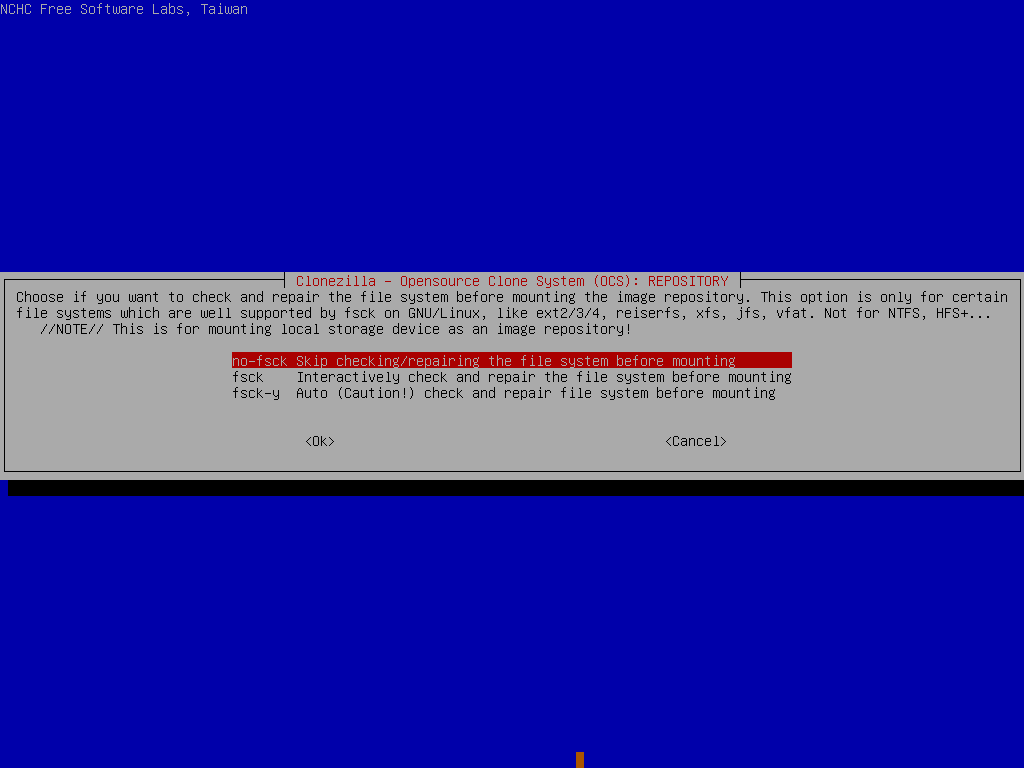
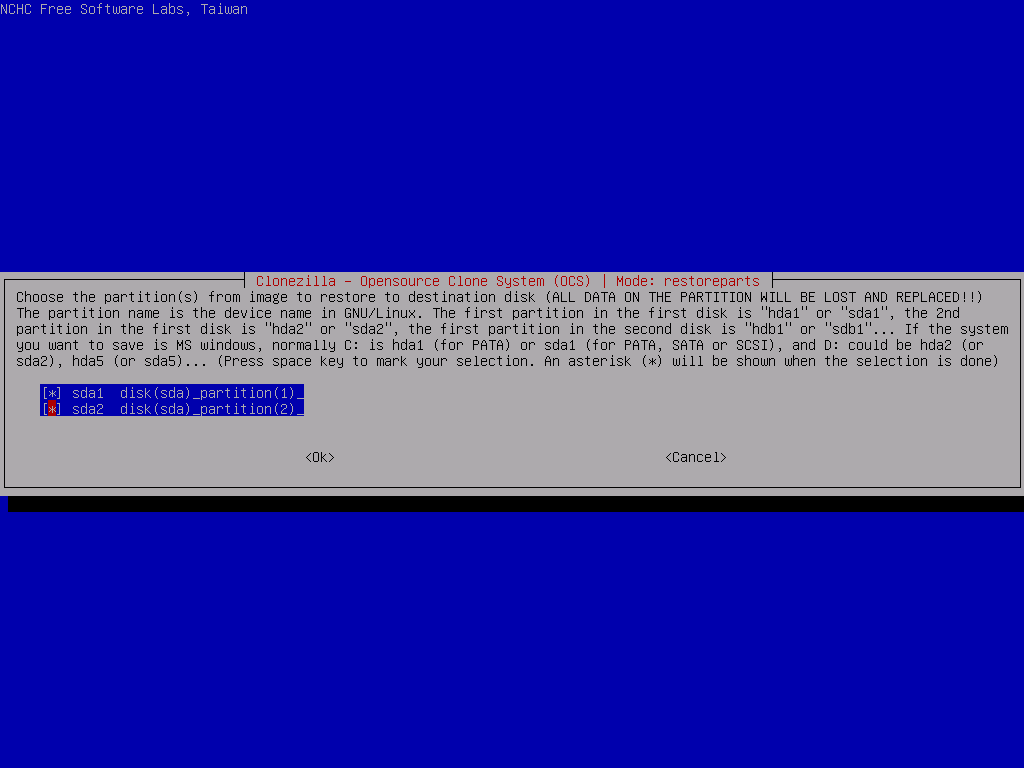
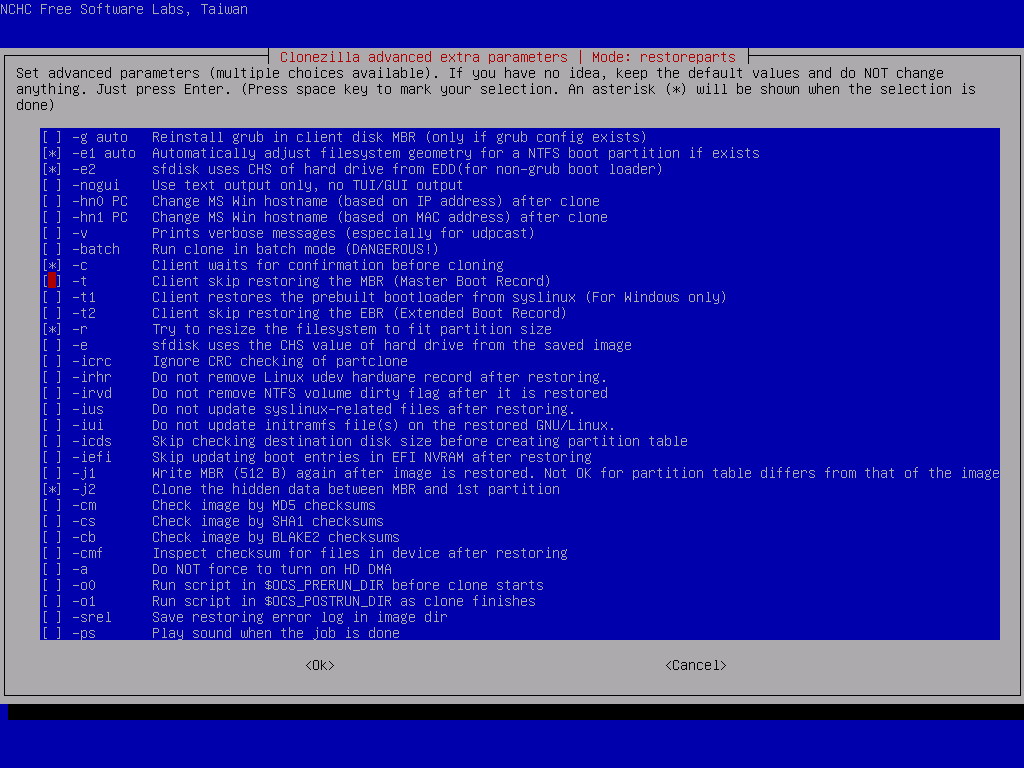
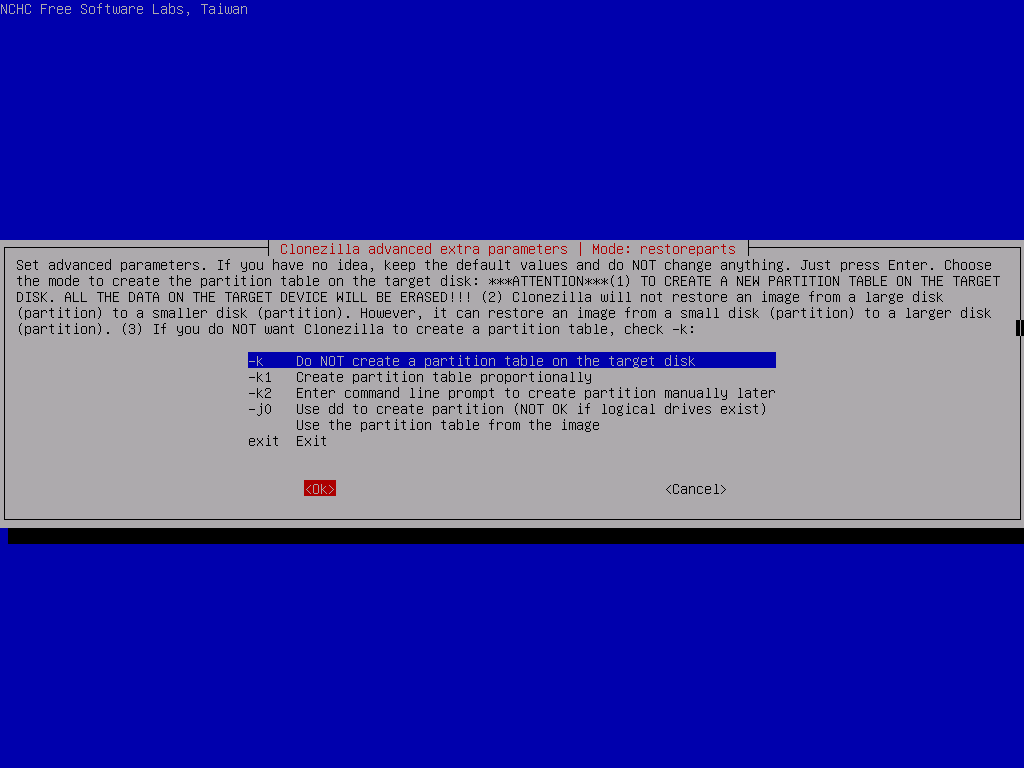
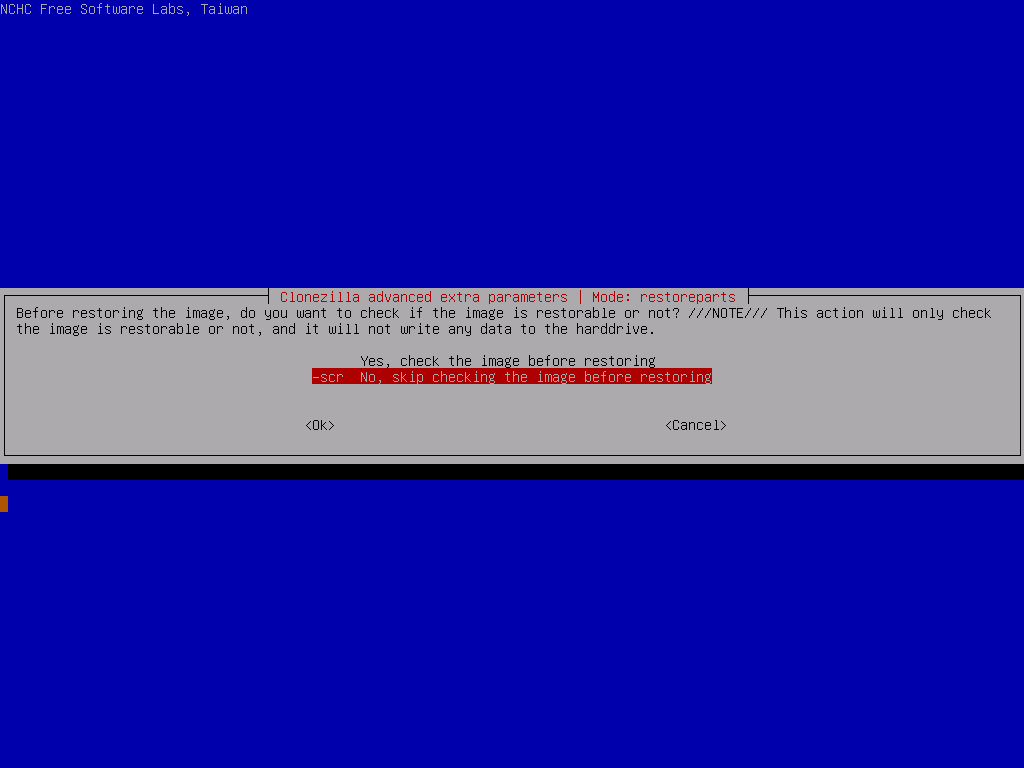
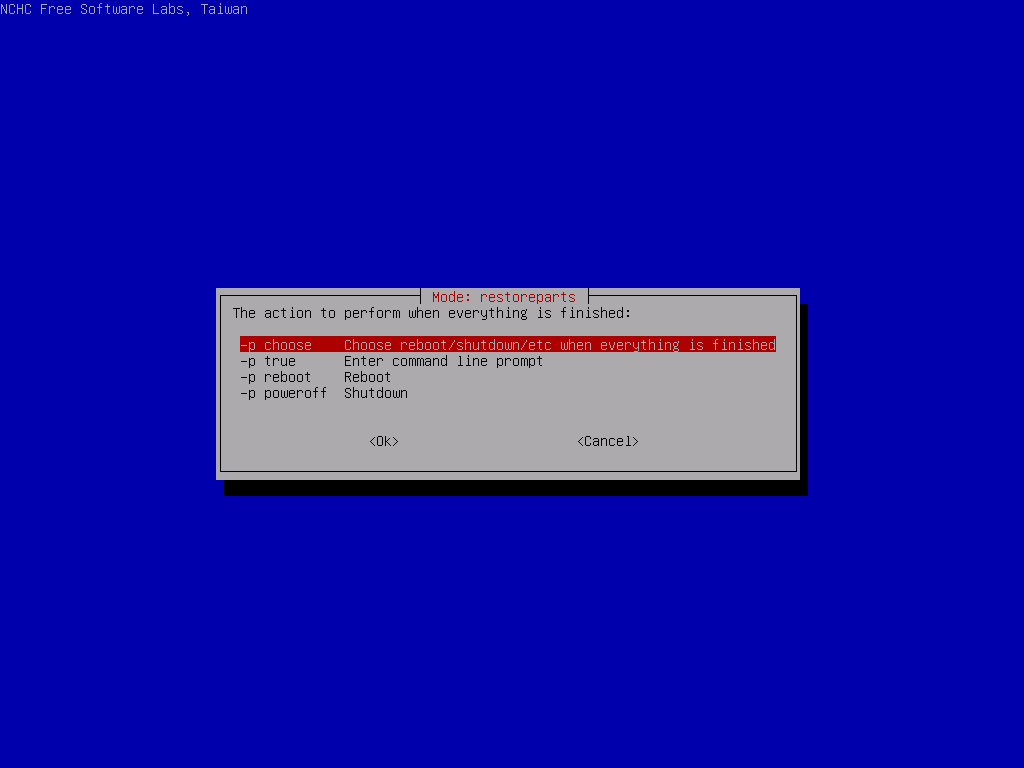
Select the 2 partitions to restore, then In the advanced extra options, deselect the -t option and leave everything else as their defaults. Make sure to select Do NOT create a partition table on the target disk for the partition table options (we did that ourselves before), skip the image check and set the finish option to choose
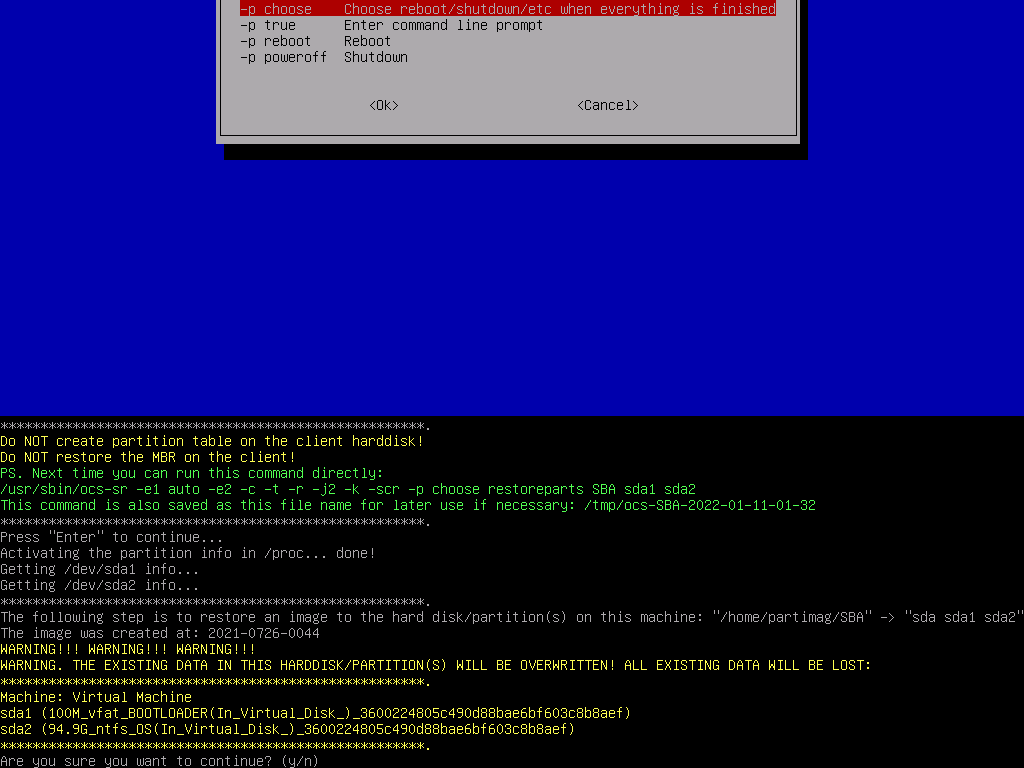
Finally, CloneZilla will give you some big scary warnings, as this is the last chance you will have to back out before anything is erased (but you did that earlier in gparted… right?)
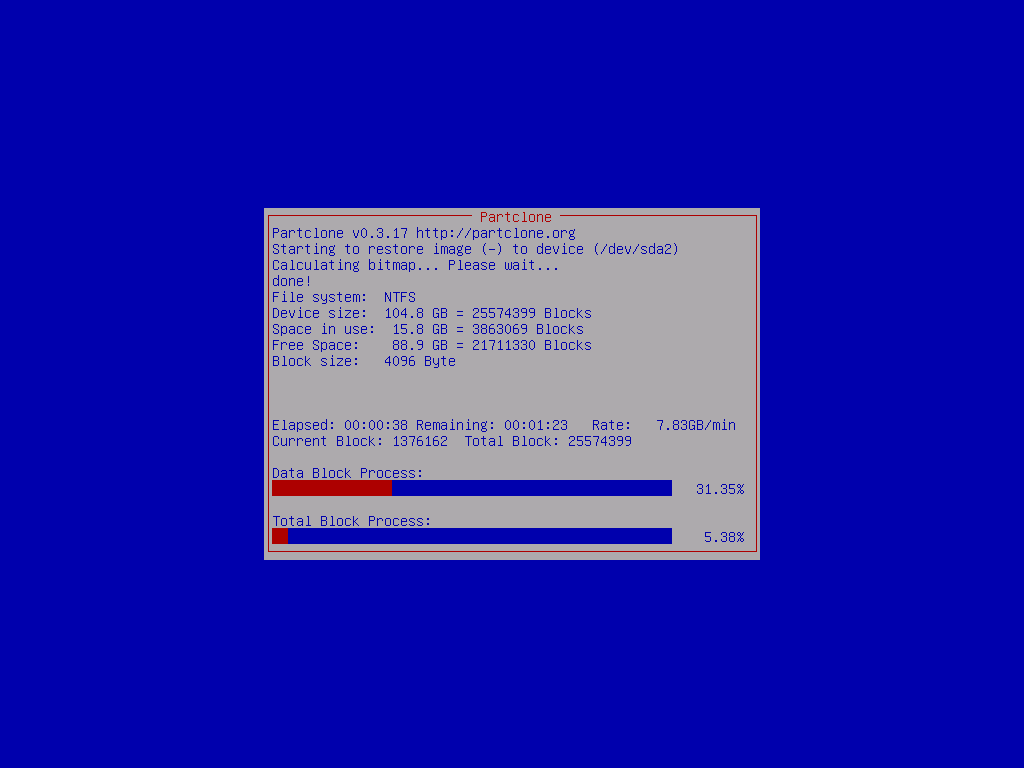
Accept the prompt and wait for the device to image

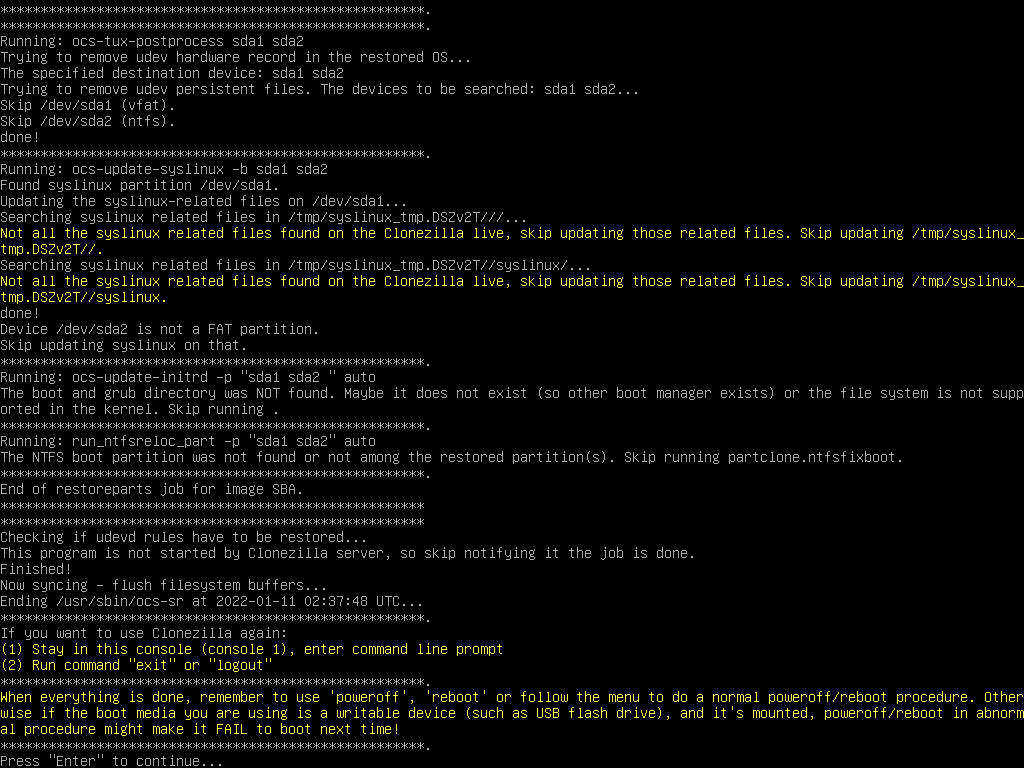
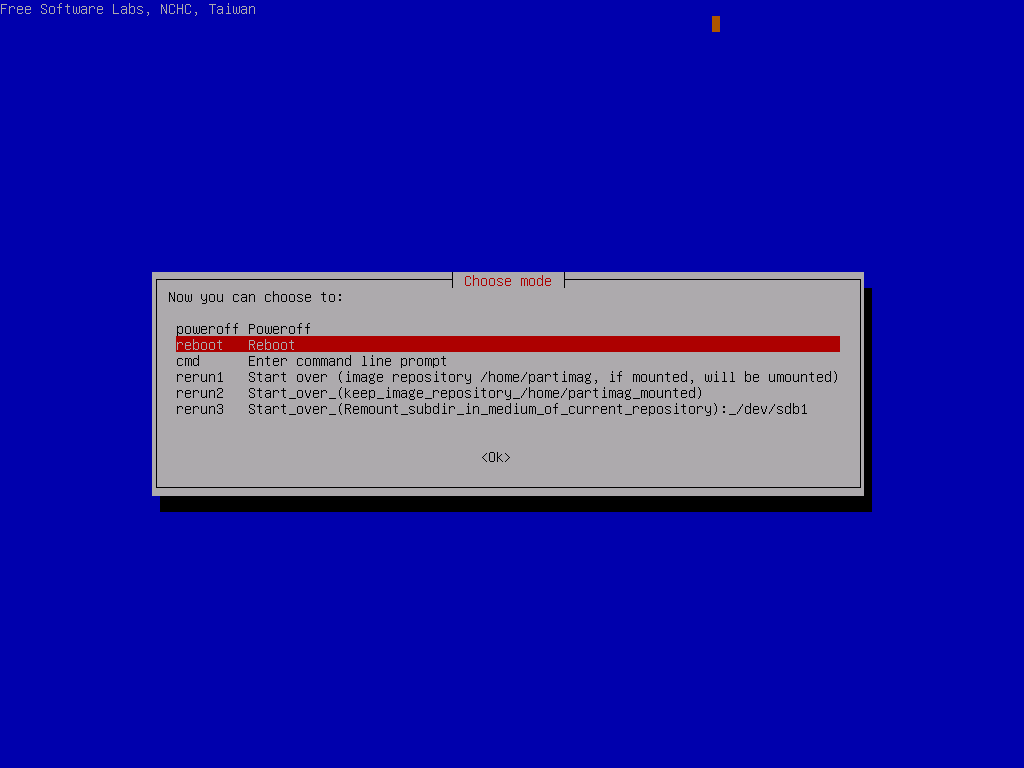
So, that’s it for CloneZilla, now we need to get Windows to boot.
Fixing the Windows Bootloader
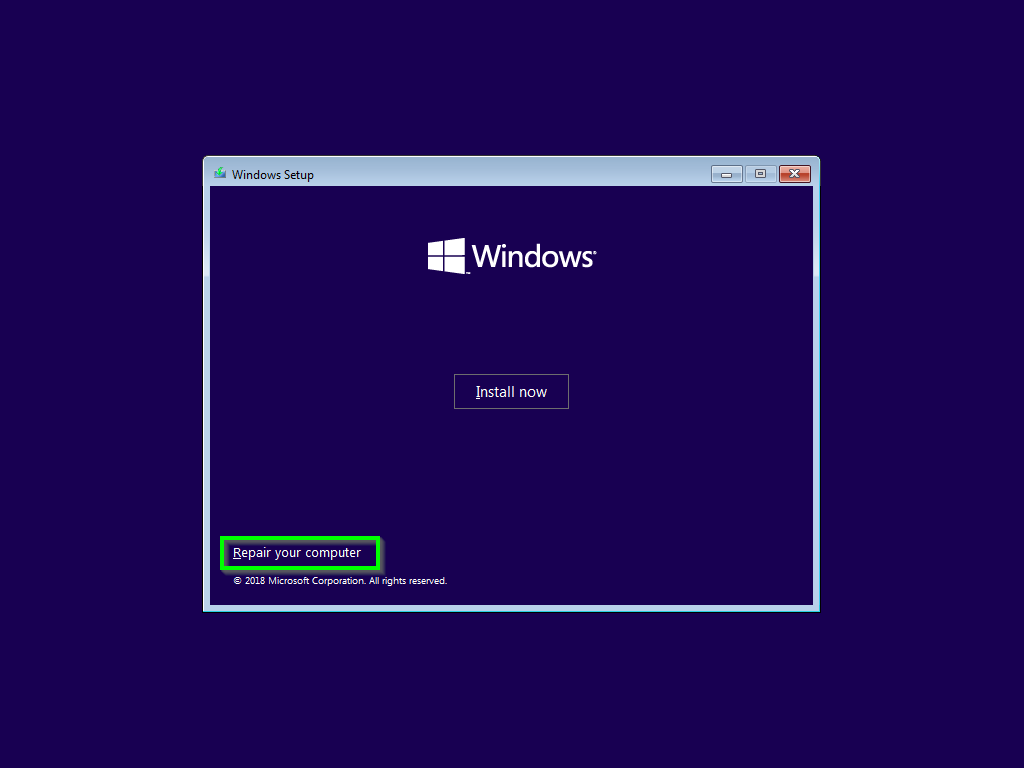
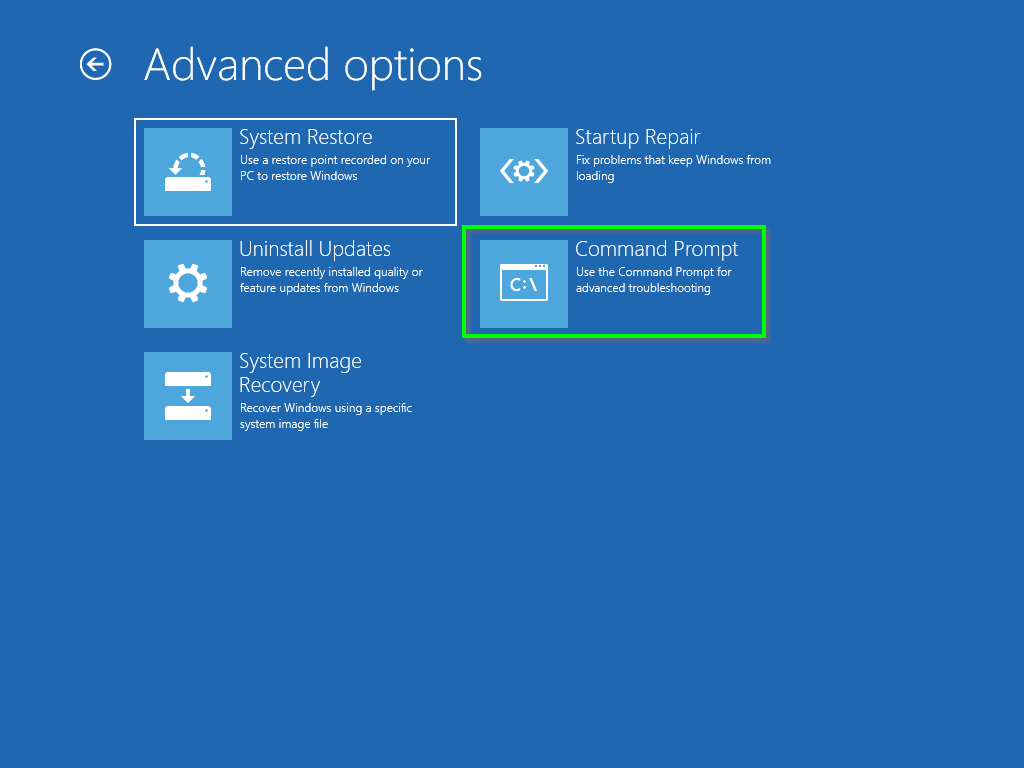
Fire up a Windows Server ISO on the SBA and jump into Recovery Mode / Command Prompt
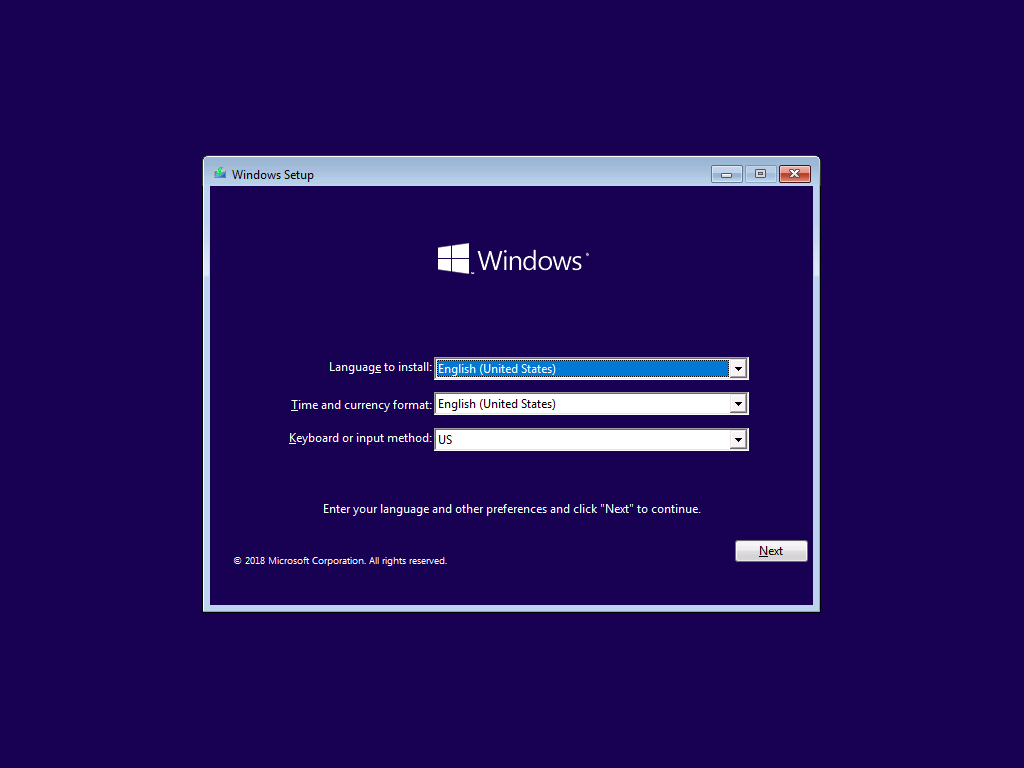

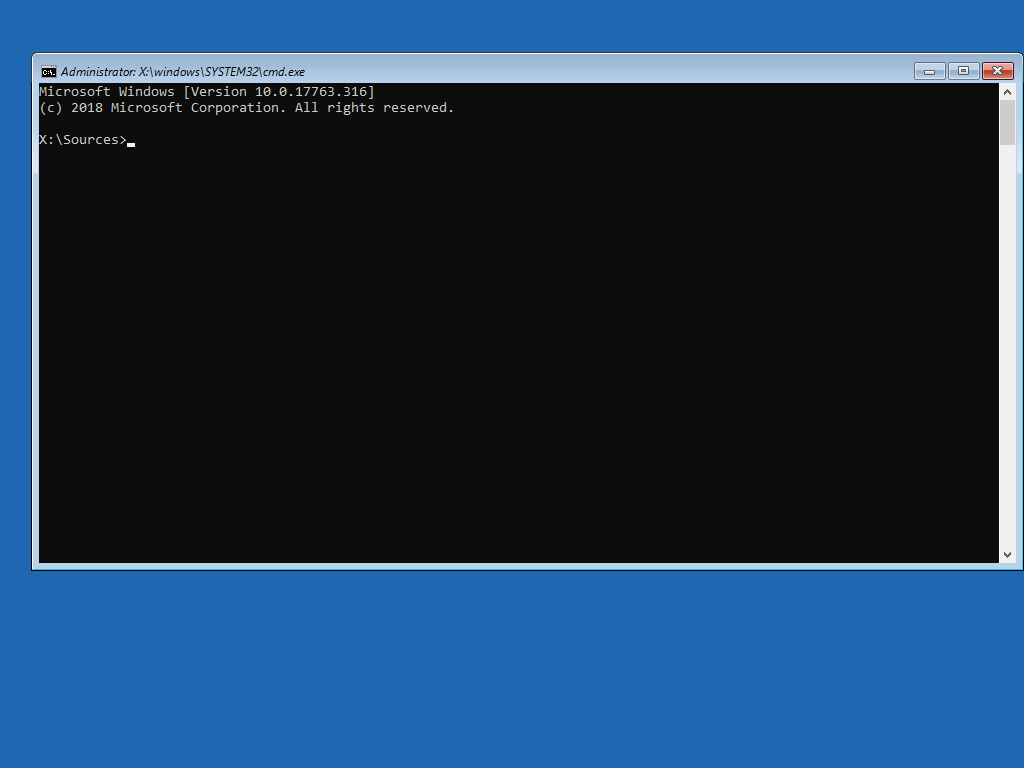
Now we have a command prompt running on the SBA, Run the following commands.
bootrec /RebuildBcd
bootrec /fixMbr
bootrec /fixboot (This might fail with an "access denied message", thats fine)
bootsect /nt60 ALL
If you get an error about “element not found” either you forgot to set the partition as bootable, or the boot flag got removed by clonezilla. Follow this guide to do it in “diskpart” to fix it.

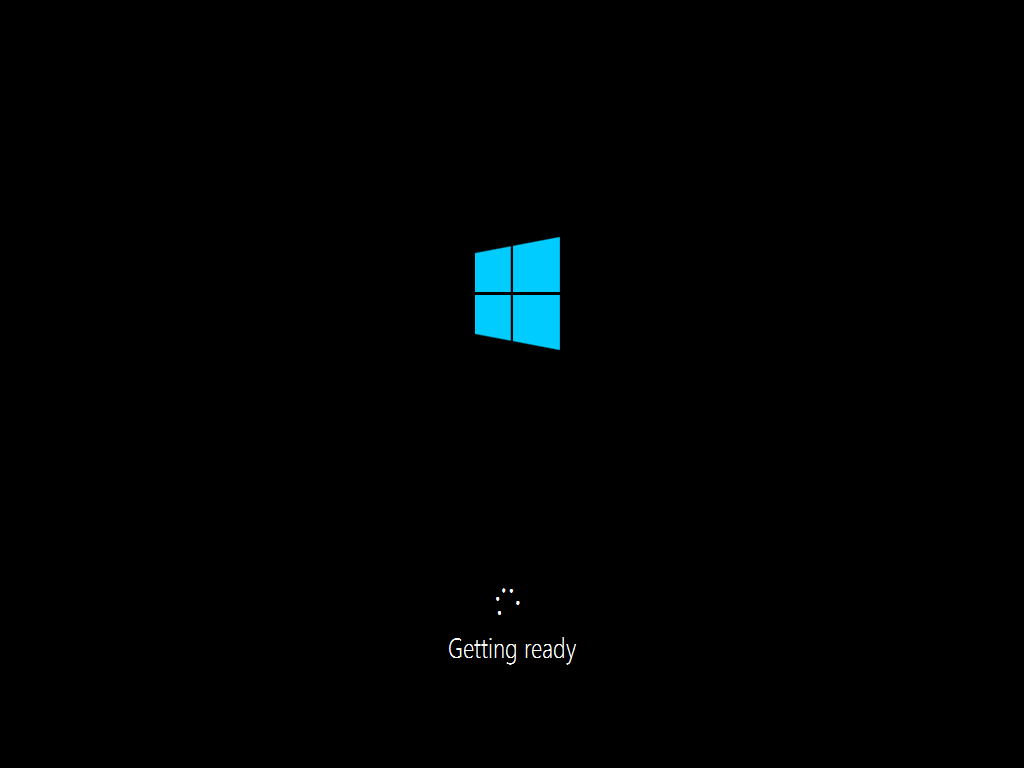
Now, remove any bootable media, reboot and you should have a working ASM!
Now, if you want to get into the depths of the ASM image, restore it to a virtual machine and reset the password using the OSK method… I won’t detail that here, I’m sure a bit of search engine ninja will help you with that.
Hope this helps someone, have fun!